
-

Step 1
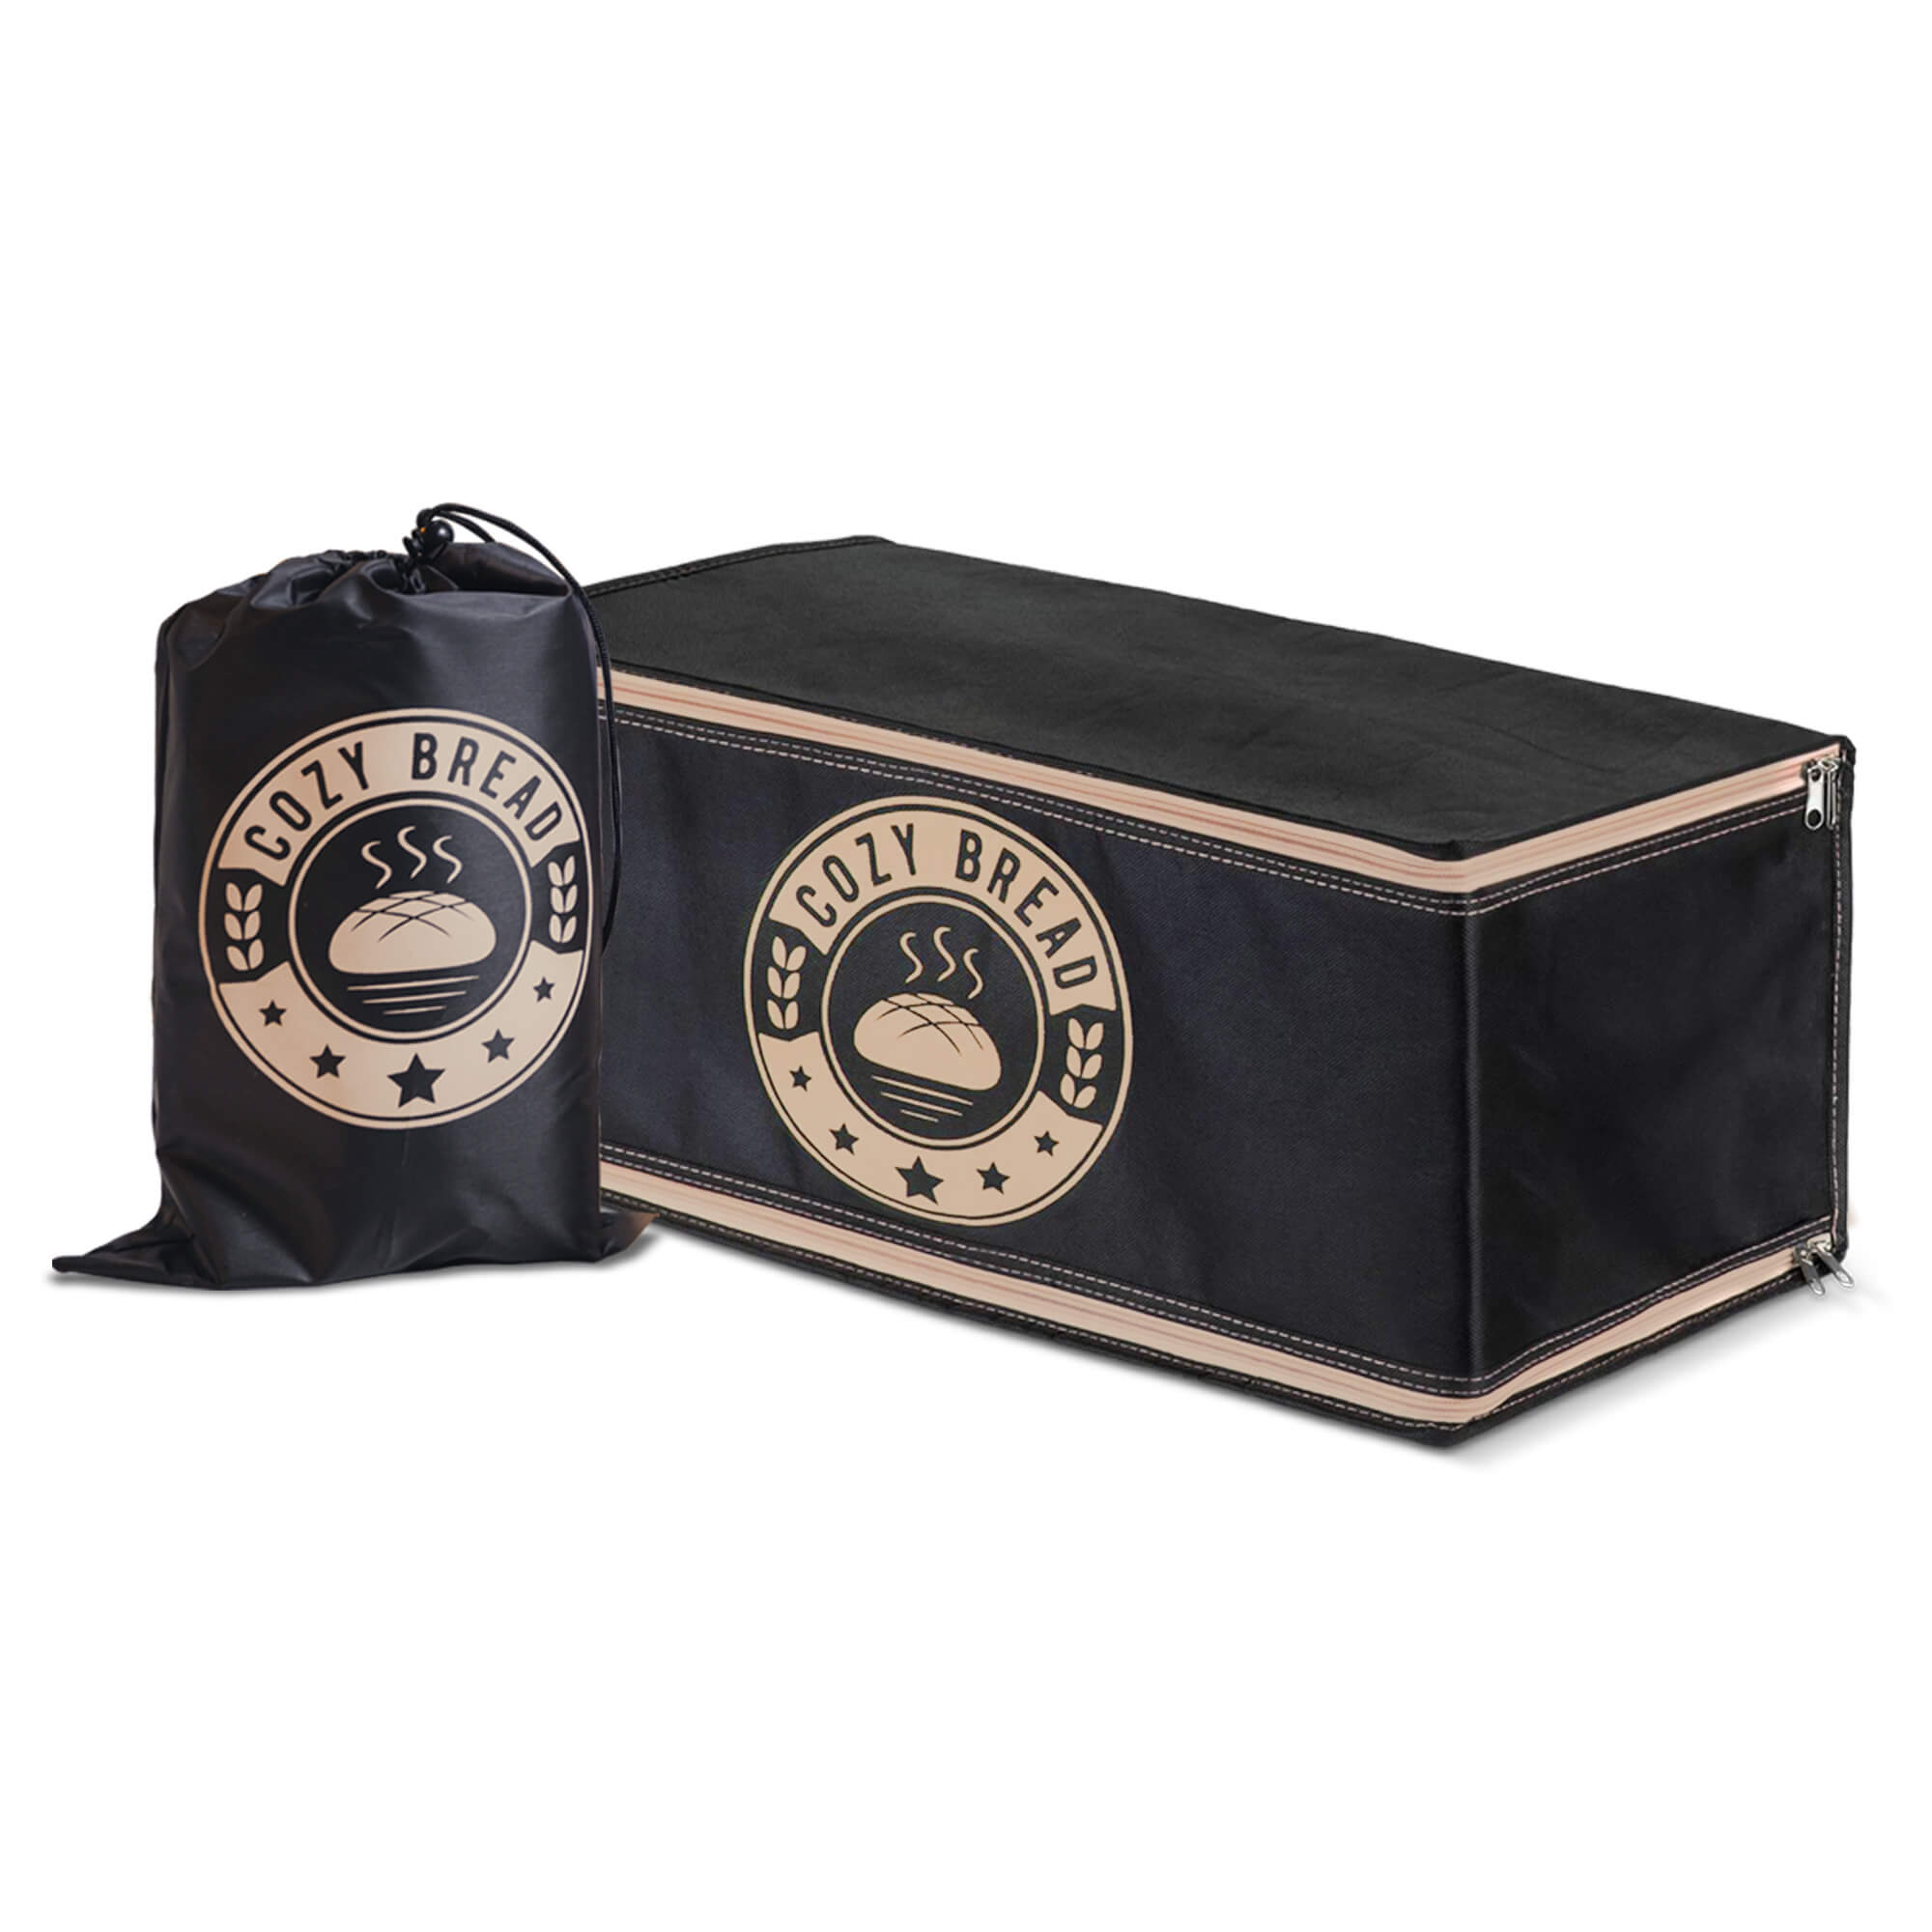
Unfold the proofing box and place it on a flat, stable surface.
-

Step 2
Connect the controller to the proofing box.
-

Step 3
Plug the controller into a power outlet
-

Step 4
Press and hold the power button for 2 seconds to turn the controller on.
-

Step 5
Set the desired time and temperature.
-

Step 6
Position the black temperature sensor inside the proofing box so it is not touching the wall of the box or the fermentation container.
-

Step 7
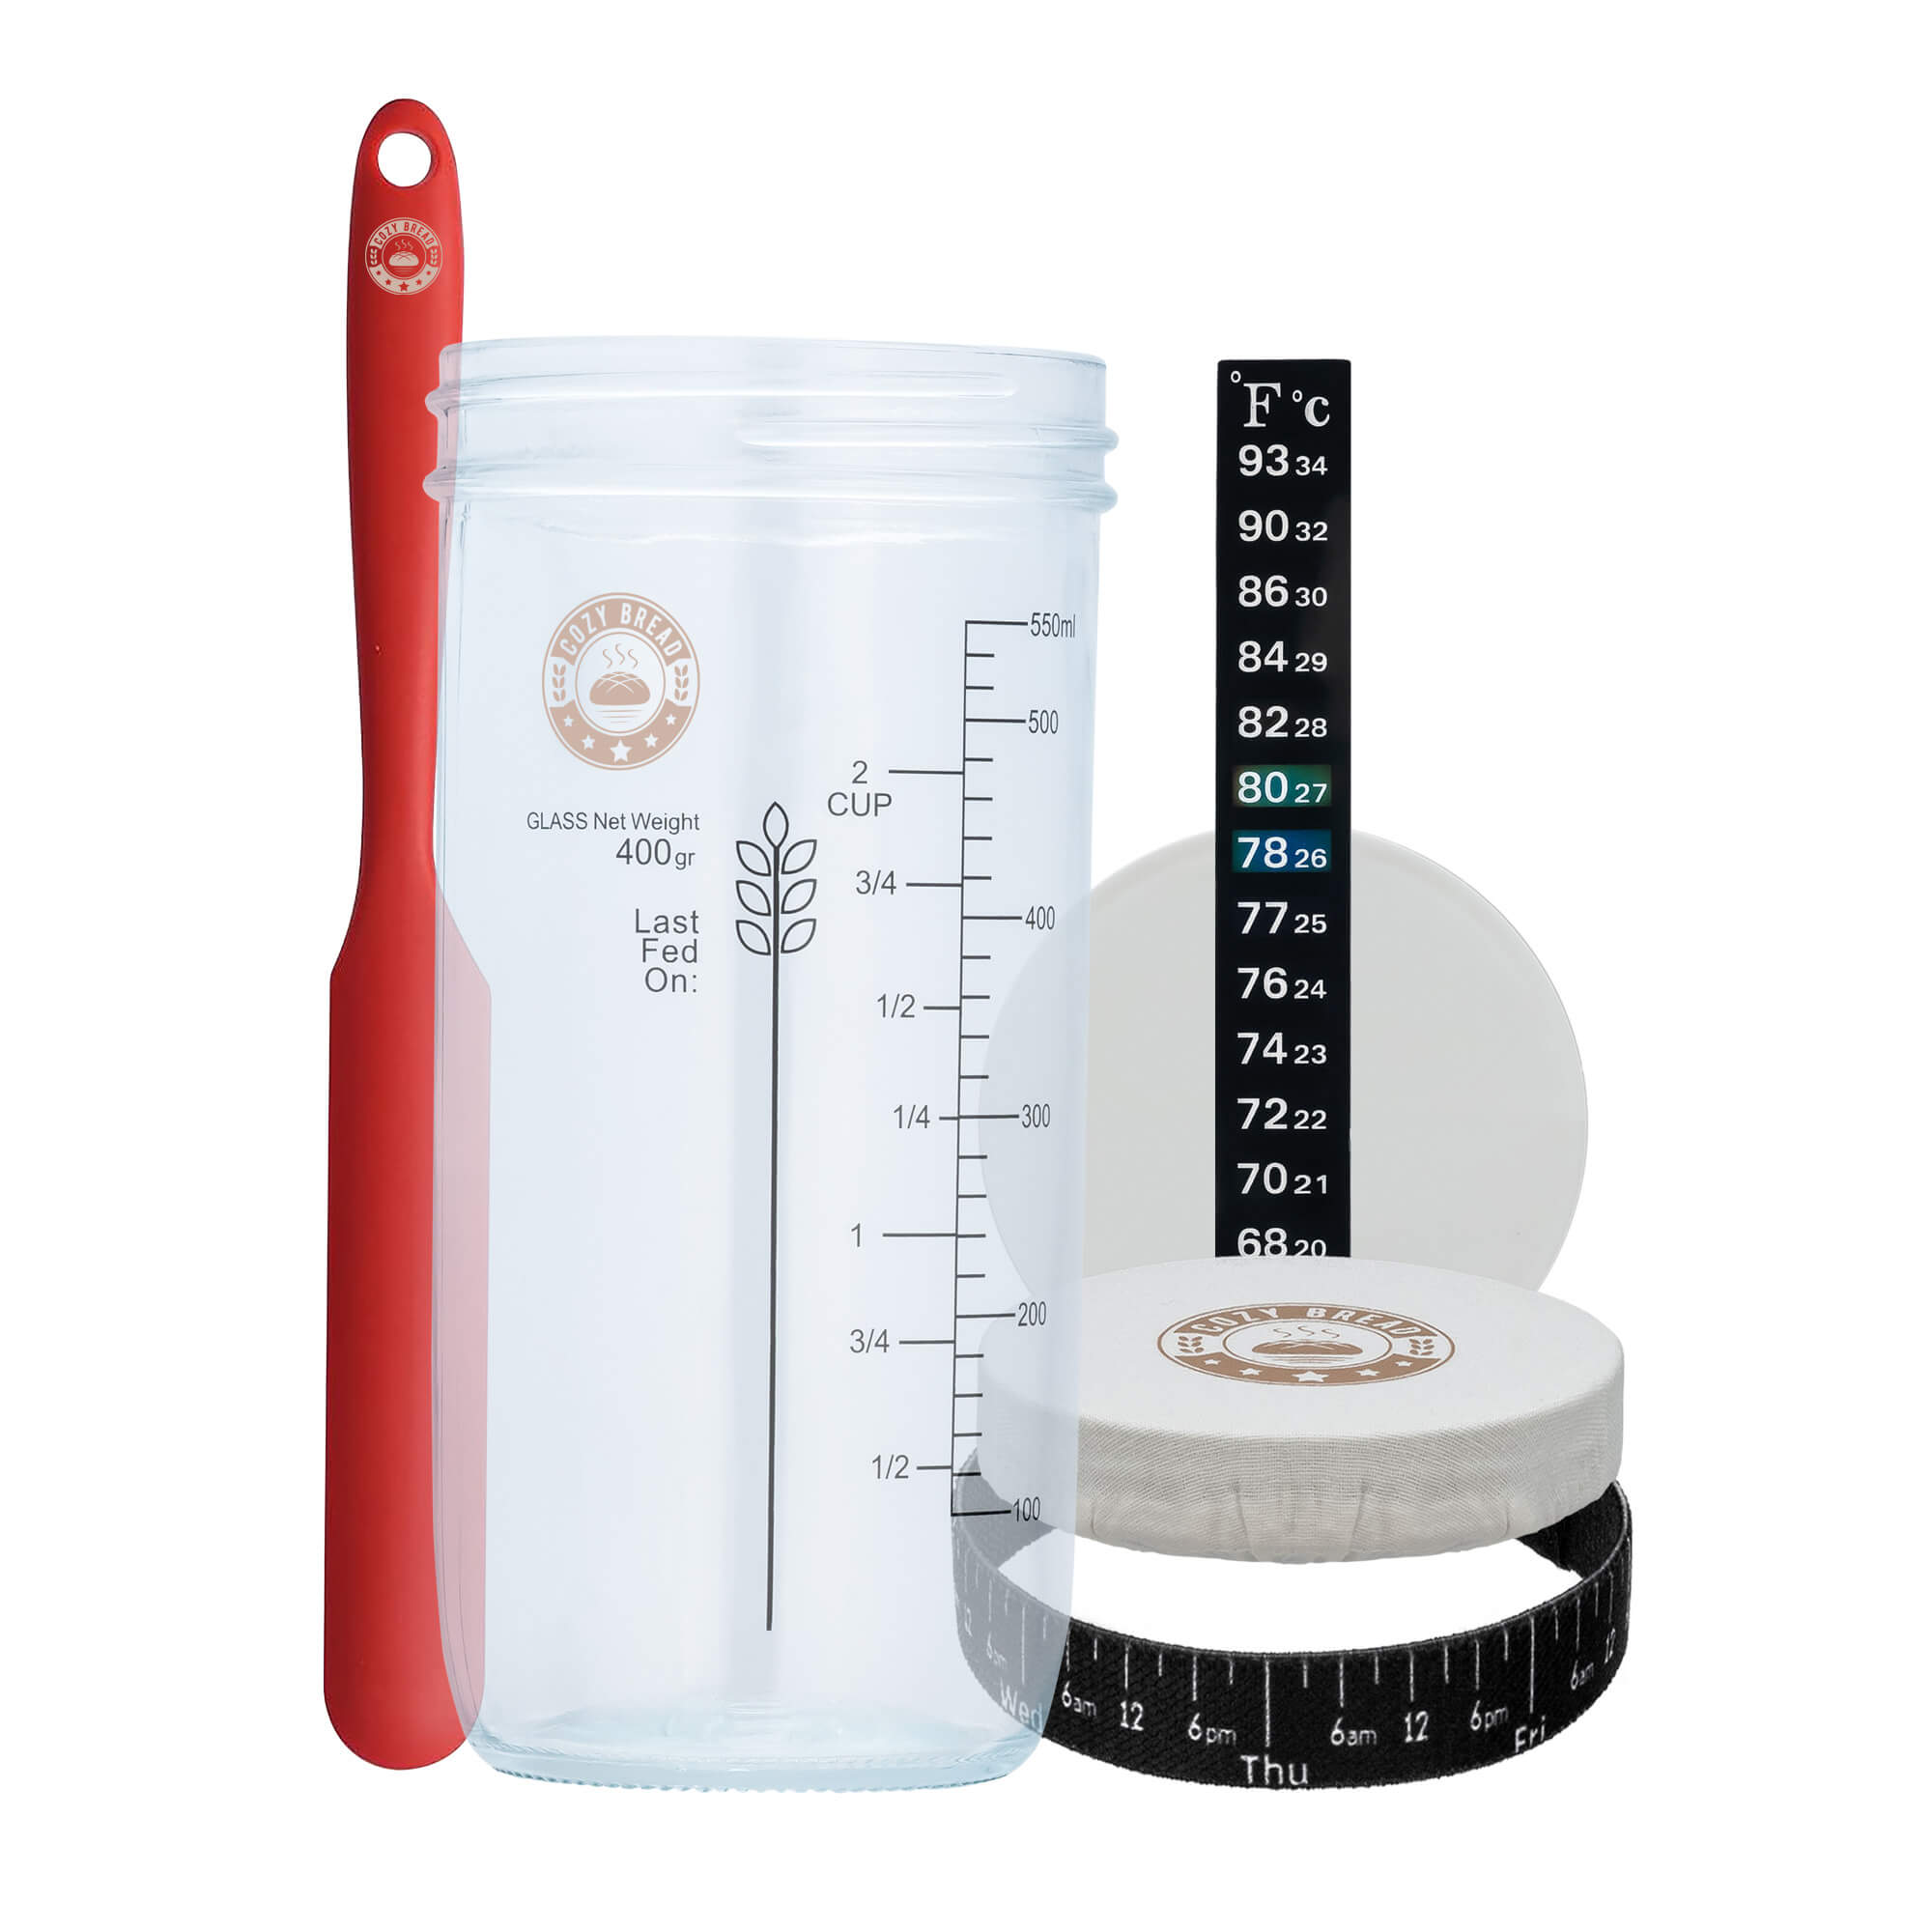
Place the fermentation container inside the proofer.
-

Step 8
Zip the lid closed.


Operation Guide
Connecting the Controller
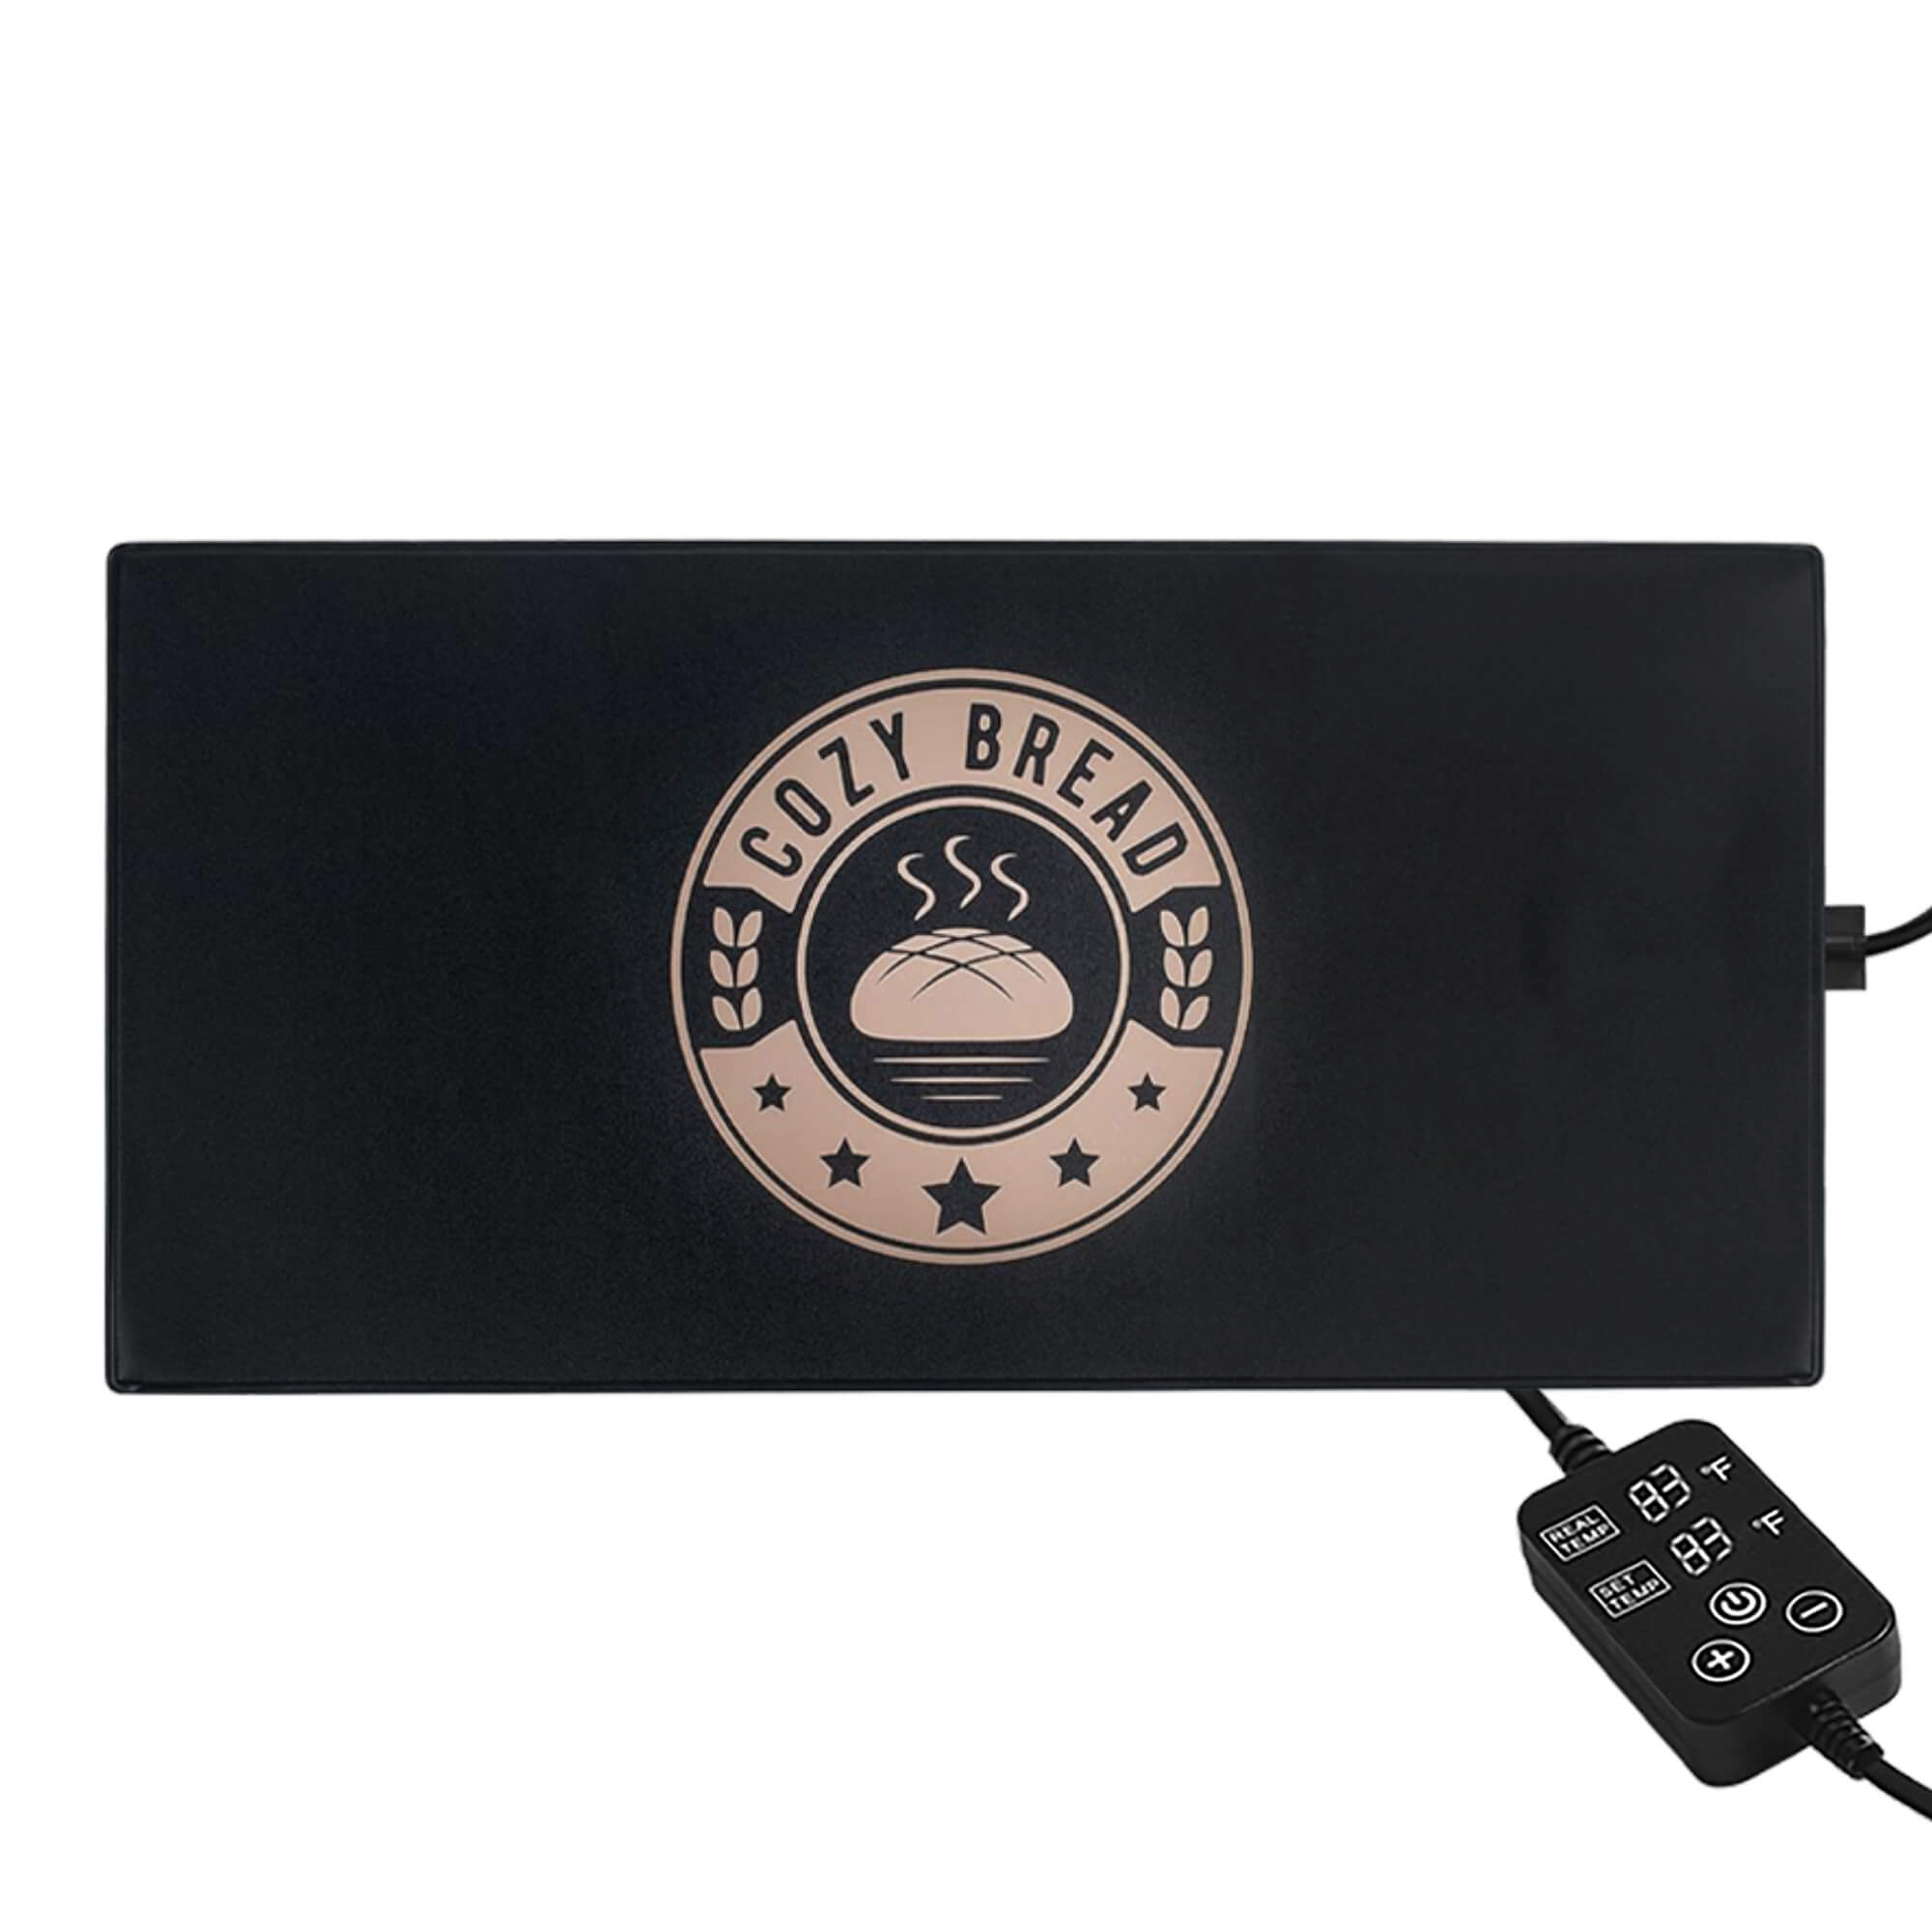
Connect the proofing box to the controller using the short cable on the back of the proofing box. Align the arrows on the round connectors, then push the connectors fully together. The connectors only fit one way.
Startup
After connecting the proofing box to the controller, plug the controller power cable into a standard 110V outlet. The indicator light “_” will appear and move across the display. This means the controller is in standby mode and the proofing box is not heating.
Press and hold the Power Button for 2 seconds to turn on the controller. The proofing box will begin heating and will take approximately 2 to 3 minutes to reach the set temperature.
For accurate temperature control, make sure the black temperature sensor inside the proofing box is positioned so it is not touching the wall of the box or the fermentation container.
Setting The Temperature
The temperature range is adjustable from 68°F to 120° F.
To set the temperature, press the Set Temperature Button. The temperature numbers will begin flashing. Use the +/- buttons to adjust the temperature. When no input is received for a few seconds, the numbers will stop flashing and the temperature will be set.
While heating, the sun symbol at the top of the display will flash. Once the set temperature is reached, the sun symbol will stop flashing.
Setting The Timer
The timer is adjustable from 1 to 24 hours.
To set the timer, press the Set Timer Button. The timer numbers will begin flashing. Use the +/- buttons to adjust the time. When no input is received for a few seconds, the numbers will stop flashing and the timer will be set.
Once the set time has elapsed, the controller will automatically turn off and the proofing box will stop heating. The controller will return to standby mode and will not begin heating again until the Power Button is pressed.

Controller Error Troubleshooting
If the controller is powered on and displays [error], check the following:
-
1
Make sure the proofing box is properly connected to the controller.
-
2
Check the black temperature sensor wire inside the proofing box. The sensor should be securely in place, undamaged, and positioned so it is not touching the wall of the box or the fermentation container.
-
3
Make sure the proofing box is connected to the controller before plugging the controller into a power outlet.
When [error] is displayed, the controller will not heat and the buttons will be inactive. To reset the controller, unplug the power cable, check the connection and sensor position, then plug it back in and restart the controller.