
Sourdough Starter Creation
Creating and maintaining a sourdough starter involves cultivating wild yeast and bacteria in a mixture of flour and water. Here’s a detailed guide, supplemented by insights from peer-reviewed sources:
Sourdough Starter Creation
Day 1: Initial Mix
- Ingredients: Combine 100g whole wheat flour with 100g lukewarm water in a jar or container. Whole wheat flour is recommended for its nutrient content, which aids yeast and bacterial growth.
- Mixing: Stir vigorously to incorporate air. This helps to capture wild yeast and bacteria present in the environment.
- Covering: Cover the container loosely to allow air in but keep pests out.
- Resting: Leave the mixture at room temperature (around 20-25°C or 68-77°F) for 24 hours.
Days 2-5: Daily Feedings
- Feeding Routine: Each day, discard about half of the starter (around 100g) and add 100g each of flour and lukewarm water.
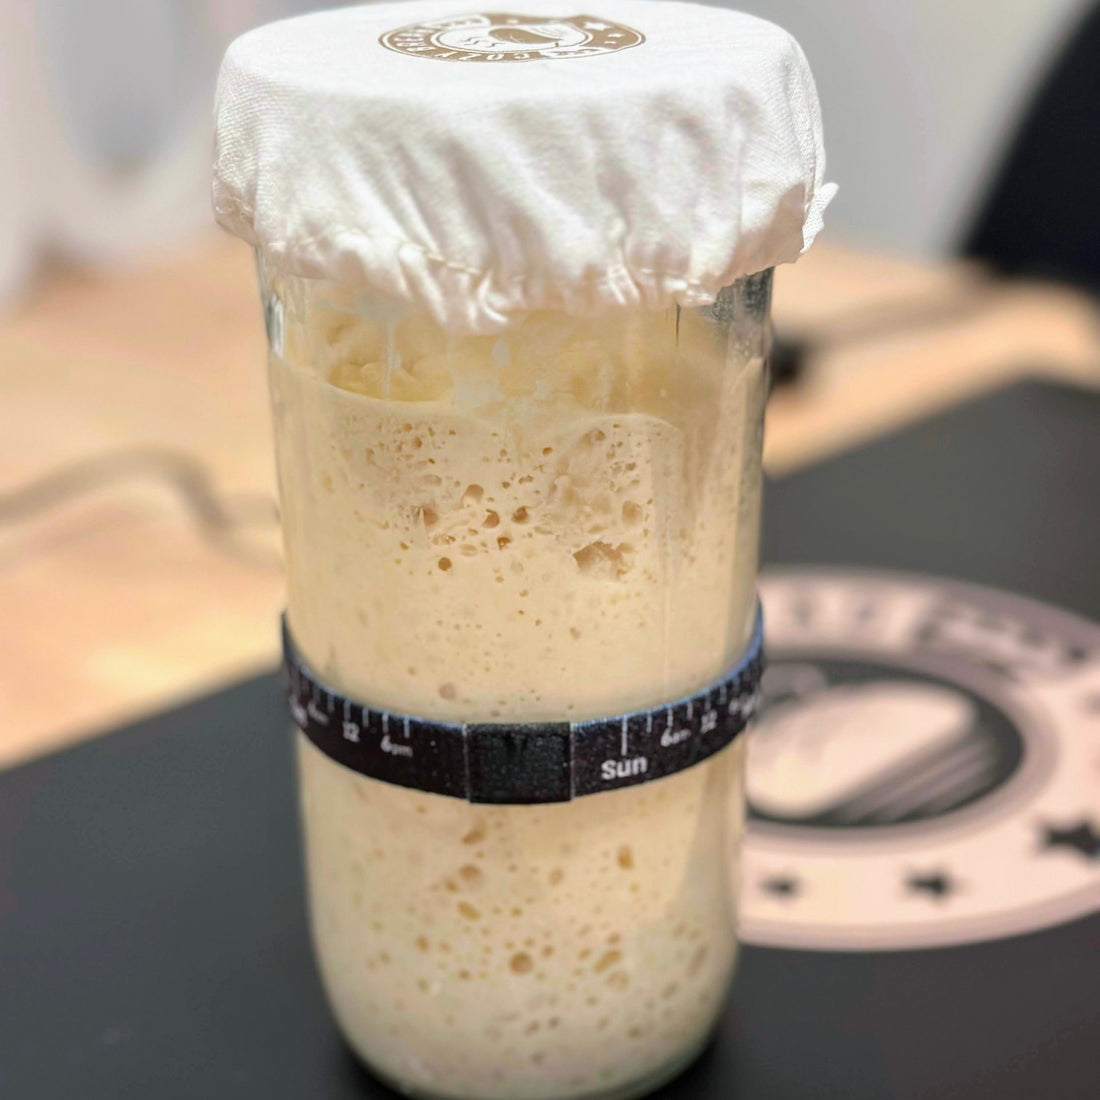
By day 5 or 6, your starter should be bubbly and have a pleasant, slightly sour smell. It's ready when it doubles in volume within 4 to 6 hours after feeding.
Sourdough Starter Maintenance
Regular Feedings
- Feeding Ratio: Maintain the starter with daily feedings if kept at room temperature. The feeding ratio is typically 1:1:1 (starter:flour:water by weight).
- Flour Type: All-purpose or bread flour is usually used for maintenance feedings.
Refrigeration for Less Frequent Use
- Refrigeration: If not baking daily, store the starter in the refrigerator and feed it once a week.
- Reviving: Before baking, take the starter out of the fridge, let it reach room temperature, and feed it. It might take a couple of feedings to become active again.
Troubleshooting
Hooch Formation: A layer of liquid, known as ‘hooch’, might form on top. This indicates hunger and can be stirred back in or poured off.
Mold and Odors: Discard the starter if it shows any signs of mold or unpleasant odors.